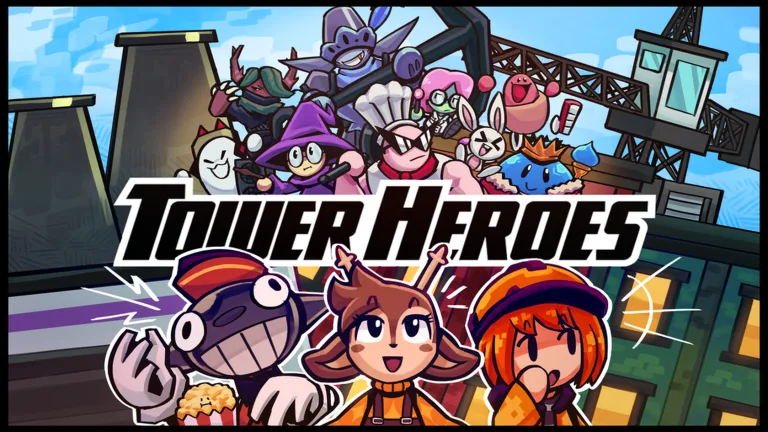
Tower Heroes Stella Guide: Mastering the Best Summoner Hero
Master Tower Heroes Stella with our comprehensive guide. Learn how to place, upgrade, and manage her sentient drawings to dominate every map in the game.
Published: Tower Heroes Wiki Editorial Team
Video Guide
How to PROPERLY and EASILY use Stella in Roblox Tower HeroesTable of Contents
In the fast-paced world of Tower Heroes, few units command as much respect and require as much skill as Stella. As a premier summoner hero, tower heroes stella has become a staple for players looking to conquer challenging maps, thanks to her unique ability to spawn sentient drawings that handle combat duties. Mastering her is not just about placing a tower; it’s about understanding the synergy between positioning, timing, and effective resource management.
Understanding why tower heroes stella is considered top-tier is crucial for any aspiring pro player. Unlike traditional towers that fire projectiles from a fixed position, Stella creates an ever-evolving frontline of defenders. Whether you are aiming to solo high-difficulty campaigns or clear raid maps, learning to wield her drawings effectively can change your gameplay for the better.
Understanding Stella’s Core Mechanics
At her heart, Stella is a summoner whose utility scales with her level. Her power comes from the variety of "drawings" she creates—ranging from basic DPS units to crowd-control experts. Unlike other heroes, she doesn't just attack; she functions as a dynamic system that requires the player's active participation.
Drawing Types and Utility
Stella creates five distinct types of drawings. Knowing which ones to keep and which to sell is the difference between a successful defense and being overwhelmed by enemy waves.
Drawing Type
Primary Role
Strength
Wuffle
Basic DPS
Reliable early-game damage
Jem
Low-tier filler
Best sold for mana
Snow Minion
Crowd Control
Applies slow/chill effect
Doug
Splash DPS
High damage output
Crab-Bot
Ranged DPS
Best-in-class range and damage
Tip
Community Experience: Many top players suggest that while Jems are generally considered "trash" units, they serve as excellent quick-sell fodder to boost your early-game economy. Never sell your primary damage dealers while an enemy wave is actively moving through their range, as you will lose precious DPS during critical moments.
Optimal Placement and Positioning
The most common mistake players make with Stella is poor spacing. Because her drawings spawn in the area surrounding her, you must ensure that each tower has sufficient breathing room. If you clump your Stellas together, you limit the number of drawings they can spawn, significantly reducing your total potential damage output.
The "Proper" Setup
When placing Stella, look for map sections with clear lines of sight. Place your towers near the track, but stagger them so that the "spawn radius" of one Stella does not overlap excessively with another. This spacing ensures that every single drawing has the physical space required to manifest and attack enemies.
The Power of Maintenance
One of the most important aspects of playing Stella is the "Repaint" mechanic. As drawings take damage from enemies, their health bar depletes. Not only does this weaken your defense, but it also lowers the amount of mana you get back if you decide to sell them.
Monitor Health: Keep an eye on your drawings' health bars.
Repaint Often: Use the repaint command to heal them to full health. It is a cost-effective way to keep your strongest units on the field.
Strategic Selling: Only sell your drawings during the lull between waves to ensure you don't leave gaps in your defense.
Advanced Strategy: The "Pro" Approach
If you want to push your gameplay to the next level, you need to view your interaction with Stella as a micro-management exercise. According to community reports, players who actively manage their drawings by manually selling suboptimal units and keeping only the heavy hitters (Crab-Bots and Dougs) can reach damage numbers that rival an entire team of casual players.
Maintaining the Slow Effect
The Snow Minion is your best friend when dealing with fast bosses. However, since the chill effect does not stack, you only need one or two Snow Minions positioned at choke points. Having more is a waste of your valuable placement limit.
Level
Mana Cost
Range
New Drawing Added
1
600
4
Wuffle
2
2,000
4.5
Jem
3
3,200
5
Snow Minion
4
4,400
5.5
Doug
5
6,800
6
Crab-Bot
Common Mistakes to Avoid
Even experienced players occasionally fall into traps that hinder Stella's effectiveness. Avoiding these mistakes will make your runs significantly smoother.
Over-selling during waves: Selling a drawing while an enemy is within range leaves a "hole" in your defense. Wait for the wave to clear.
Ignoring the placement limit: You can only have a maximum of three Stellas active. Make sure they are the best they can be before focusing on other heroes.
Forgetting to upgrade: Stella’s drawings scale with her level. If you have a Level 1 Stella, you are stuck with weak Wuffles. Prioritize upgrading her to Level 5 to unlock the high-DPS Crab-Bot.
Warning
Mechanical Note: Keep in mind that when you upgrade your Stella, the existing drawings already on the field do not gain the maximum health increase of the new level; only future drawings will benefit from the improved stats.
Frequently Asked Questions (FAQ)
Q: Is tower heroes stella still worth using in the current meta?
A: Absolutely. Despite various balance adjustments over time, she remains one of the most powerful summoners in the game, provided you are willing to perform the necessary micromanagement.
Q: Why does my drawing disappear or stop attacking?
A: Drawings have a limited lifespan based on their health. Once they take enough damage, they perish. If you see a drawing losing health, use the "Repaint" option to keep it active.
Q: Which drawings should I prioritize keeping?
A: Prioritize Crab-Bots for their massive range and Doug for his high-damage splash attacks. These two are generally considered the best performers for end-game boss waves.
Q: How do I get better at playing Stella?
A: Practice makes perfect. Start by playing easier maps and focusing entirely on managing your drawings. Once you get the rhythm of spawning, repainting, and selling down, you will find her incredibly rewarding on harder difficulties.