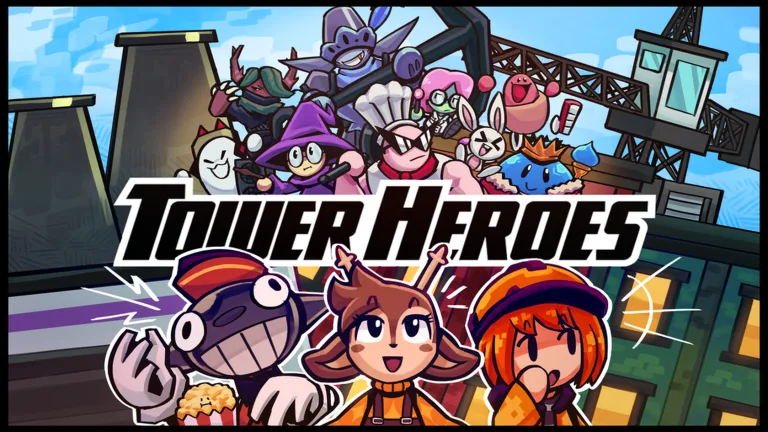
Ultimate Tower Heroes Progression Guide: Mastering the Game
Level up fast with our comprehensive Tower Heroes progression guide. Discover the best tower order, expert tips for mana management, and winning strategies.
Published: Tower Heroes Wiki Editorial Team
Video Guide
You Need to Buy THESE Towers First in Roblox Tower HeroesTable of Contents
Mastering Tower Heroes on Roblox is a challenging journey, but knowing which towers to prioritize can drastically alter your efficiency. Whether you are a newcomer or looking to optimize your late-game loadout, this tower heroes progression guide provides the blueprints for success as you climb the ranks.
Understanding the mechanics of Tower Heroes—a game developed by Pixel-bit Studio—is essential for conquering the game's various modes. By focusing on the right upgrades and deployment strategies, you can transition from a beginner to a top-tier player quickly.
Establishing Your Core Loadout
The foundation of your progression relies on a balanced deck. You shouldn't just spam high-cost heroes; you need a mix of DPS, economy, and support. According to community experience, failing to prioritize economy towers early on often leads to resource starvation during later waves.
Hero Type
Recommended Start
Why?
DPS
Scientist
Massive damage output and easy to use.
Support
Spectre
Doubles damage of nearby towers at max level.
Economy
Lemonade Cat
Generates vital mana per round.
Range Buff
Balloon Pal
Increases tower range by up to 50%.
As you progress, your deck should evolve to include crowd control and specialized summoners. Don't settle for your initial loadout; rotate your heroes based on the specific map's path layout and the wave intensity.
The Optimal Buying Order
Many players waste coins on flashy but ineffective towers. Based on data from top players, there is a specific order that maximizes your early-game power spike.
Scientist: Your primary damage dealer. Its ray gun offers consistent, high-impact DPS.
Spectre: The most powerful support in the game. It allows you to squeeze maximum value out of your existing damage towers.
Lemonade Cat: Essential for mid-game scaling. Mana is the backbone of your defense.
Balloon Pal: Necessary for maximizing the range efficiency of your setup.
Maitake: A top-tier choice for effect-based damage. Poisoning enemies significantly lightens the load on your main attackers.
Tip
Placement Strategy: Place your support towers like Spectre and Balloon Pal centrally so they affect as many combat towers as possible. Always keep "path-hugging" spots open for melee heroes like Chef or Hotdog Frank.
Advanced Placement and Tactical Usage
Understanding where to place your towers is just as important as knowing which ones to buy. A common mistake cited by the community is placing ranged towers too close to the enemy path, which wastes valuable space needed for crowd control heroes.
Melee vs. Ranged Deployment
Melee towers like Chef and Hotdog Frank require proximity to the path to be effective. Conversely, heroes like Keith or Branch should be placed in areas that allow them to cover large segments of the map without blocking the "front line" spots.
Tower Name
Optimal Role
Placement Tip
Hotdog Frank
Crowd Control
Place near corners to hit multiple enemies.
Bite
Stun/Slowing
Place behind a high-DPS tower to catch leakers.
Dumpster Child
Effect Stacking
Use level 3, 4, and 5 effects sequentially for max damage.
Stella
Art/Damage
Sell the "gems" to keep the range clear.
When using a hero like Bite, use a level 4 variant behind a level 5 to create a "slow zone." This prevents enemies from regaining speed after the initial stun wears off, effectively bottlenecking them for your other towers to finish them off.
Managing Mana and Economy
Resource management is the invisible wall that separates casual players from experts. If you have too many expensive towers, your mana will drain instantly when you need to upgrade during a boss wave.
Discount Dog Strategy: Always deploy this in team games. Even if it's not the highest DPS tower, the mana reduction benefits provided to your teammates will turn you into a lobby favorite.
Balancing Levels: Avoid upgrading all towers simultaneously. It is usually more efficient to max out one or two key towers before starting on the next batch.
The "Sell" Mechanic: Don't be afraid to sell low-level towers in a late-game emergency. If a boss has 6,000 HP remaining, selling a few low-impact units to afford an emergency summoner ability is often the difference between victory and defeat.
Mastering Summoners for Late-Game
Summoners offer unique burst damage potential. Towers like the Slime King or Buzzer are specifically designed to turn the tide when a boss wave becomes overwhelming.
Buzzer: Its ability causes existing summons to explode on death. Combine this with a boss stun (using Bite) for massive, multi-hit damage.
Kart Kid: Utilize the 7-second invincibility at max level. It acts like a "star power" in Mario Kart, allowing your kart to collide with enemies without taking damage.
Warning
Common Error: Avoid using the Jester in main maps. While it can be fun for chaos, it can accidentally spawn enemies that disrupt your team's defense. Stick to reliable summoners for competitive or campaign progression.
FAQ: Frequently Asked Questions
Q: What is the best starting tower in this Tower Heroes progression guide?
A: The Scientist is widely considered the best starter tower due to its high DPS and ease of use, making it an essential part of any deck throughout the game.
Q: Should I buy Lemonade Cat or Discount Dog first?
A: Lemonade Cat is generally more useful for your personal progression and mana economy. Get Discount Dog once you start playing more frequently in multiplayer lobbies.
Q: Why is Spectre considered the most powerful support?
A: Spectre doesn't just buff damage; it effectively doubles the output of your nearby towers and provides a fire-rate boost that can drastically increase your total team DPS in clutch moments.
Q: How do I handle boss waves?
A: Use a combination of stuns (like Bite) and burst summoners (like Buzzer or Slime King). Ensure your Spectre is active to maximize the damage output during the stun window.