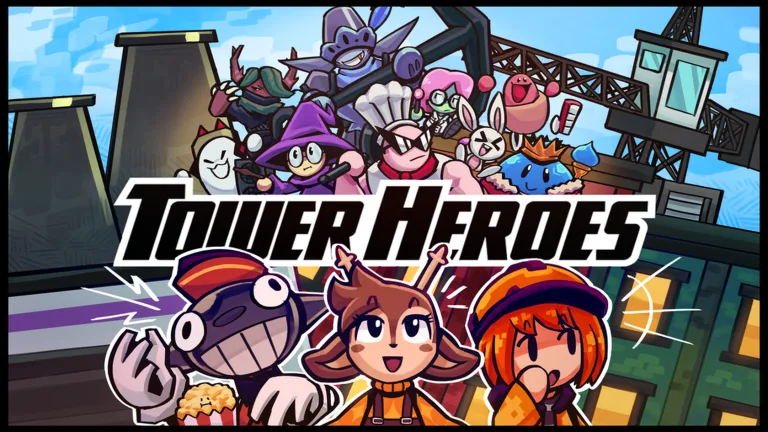
How to Solo the Tower Heroes Conductor Contract Guide 2026
Master the Tower Heroes Conductor contract with our expert solo guide. Discover the best hero loadouts and winning strategies to secure your reward today.
Published: Tower Heroes Wiki Editorial Team
Video Guide
How to Solo the Conductor Contract (Tower Heroes)Table of Contents
The Tower Heroes Conductor contract remains one of the most iconic challenges for veterans and newcomers alike. If you are looking to prove your skills in Pixel-bit Studio’s hit Roblox tower defense game, mastering this specific challenge is a milestone you cannot overlook. This guide will show you exactly how to solo the Conductor contract, ensuring you walk away with the victory and the rewards you desire.
Understanding the mechanics of this contract is vital. Many players fail because they attempt to rush or misjudge the special map conditions. By following this guide, you will learn why specific hero placements are more effective than others and how to navigate the waves without breaking a sweat.
Preparing for the Conductor Contract
To embark on this quest, you must navigate to the official Tower Heroes game page on Roblox. The trigger for this contract is specific: you must select the Canyon Calamity map and refrain from voting on any difficulty. Allowing the lobby timer to run out naturally will initiate the "Ghost Train" special quest.
If successful, the map render will shift to a darker, distinct aesthetic, confirming you have triggered the correct instance. According to community reports, players often try to rush the start, but patience is the absolute requirement here. If the map environment doesn't change, the contract will not count upon completion.
Recommended Loadout for Solo Play
Success in solo mode depends on your loadout. Based on expert strategies, you need a balance of early-game support and late-game DPS to manage the hidden enemies that appear throughout the Ghost Train sequence.
Hero
Role
Priority
Soda Pop
Early/Mid DPS
High (Placement priority)
Spectre
Support/Damage Boost
High (Essential for Boss)
Dumpster Child
Crowd Control
Medium (Great for leaks)
Chef
Melee/Close Combat
Medium
Bomb Float
Boss Burst Damage
Low (Save for Boss)
Wave-by-Wave Execution Strategy
During the early stages, focus on placing your Soda Pop units. Community experience suggests setting at least one unit to "Strongest" targeting to prevent wasted shots on weak enemies. By wave 12, you must ensure you have a level four Dumpster Child to handle the petrified skeleton wave, which is a notorious run-ender.
As you progress toward the middle waves, prioritize maximizing your Spectre. Its ability is crucial; it effectively ignores range limitations and ensures your towers maintain constant pressure on the rapidly moving undead enemies.
Managing Hidden Enemies and Lag
One common issue reported by players is the "micro-lag" effect on skeleton rogues. Their dashes can become erratic due to performance fluctuations. To counter this, ensure your towers are placed in a way that minimizes travel distance for your projectiles.
Enemy Type
Strategy
Why?
Skeleton Rogues
Use Dumpster Child
Stuns and slows prevent the dash-leak.
Giant Ghosts
Focus Fire
High health requires consistent DPS.
Ghost Train (Boss)
Save Bomb Floats
They provide the burst needed for multi-sector phase shifts.
Defeating the Ghost Train Boss
The final challenge is the Ghost Train boss. This entity functions as a multi-sector worm. Once you deplete the health of one sector, another immediately replaces it. You must defeat five sectors in total to claim your contract.
Tip
Boss Phase Management: Do not waste your Bomb Floats prematurely on the initial segments. Wait until the final three sectors to unleash their maximum burst damage, which helps mitigate the risk of the boss reaching the exit during the frantic final wave.
If you find the boss is pushing through your defense, don't panic. Move your high-DPS heroes, such as Chef or Scientist, to the back of the track. This "kiting" technique gives your towers more uptime, allowing them to finish off the segments before they reach the base.
Common Mistakes to Avoid
Even with the best loadout, small errors can lead to failure. We have compiled a list of frequent pitfalls based on player feedback to help you refine your run.
Ignoring the Ability Gauge: Forgetting to use Spectre’s ability is the most common reason for boss leaks. Always check your cooldowns.
Poor Placement: Avoid placing towers in corners where they might be stunned by boss abilities.
Wrong Targeting: Ensure your support units are not targeting "Strongest" at the same time as your main DPS, as this spreads out damage too thin.
Error
Consequence
How to Fix
Over-farming
Base leak
Balance economy heroes with combat units.
Mis-timing abilities
Boss phase stall
Only trigger during peak boss movement.
Selling too early
Mana loss
Keep your core defense until the final sector.
FAQ: Frequently Asked Questions
Q: Do I need to be a high level to complete the Tower Heroes Conductor contract?
A: No, while higher levels provide better hero stats, the contract is entirely skill-based. Proper loadout management and understanding the boss segments are more important than your player level.
Q: Can I use different heroes than the ones listed in this guide?
A: Absolutely! While Soda Pop and Spectre are highly recommended for solo runs, you can substitute them with other ranged towers like Scientist or Branch, provided you have enough crowd control to stop the faster enemies.
Q: Does the contract still work if I play in a group?
A: Yes, playing in a group can make the Conductor contract significantly easier, as you can coordinate abilities like Spectre's boost to cover more of the track.
Q: What should I do if the Ghost Train boss reaches the exit?
A: If the boss leaks, it usually means your DPS is insufficient for the final sector. Try placing your towers in a more "serpentine" or "spiral" path to maximize their time on target.