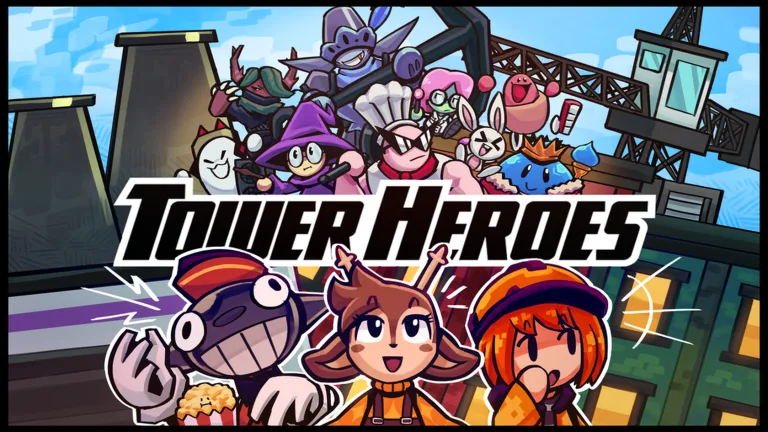
Tower Heroes Blastech Barrage Guide: Master the Hard Mode Strategy
Struggling with Tower Heroes Blastech Barrage? Discover expert strategies, optimal tower setups, and pro tips to conquer this challenging map in Roblox.
Published: Tower Heroes Wiki Editorial Team
Video Guide
Beating Blastech Barrage on the HARDEST Difficulty in Tower Heroes | RobloxTable of Contents
Are you ready to take on the intense challenges of the Tower Heroes Blastech Barrage map? Many players find this specific arena daunting, but with the right strategy, you can turn the tide of battle and secure your victory in this fan-favorite Roblox experience.
Understanding the mechanics of Tower Heroes Blastech Barrage is essential for any player looking to climb the ranks or clear Hard Mode consistently. This guide provides the tactical insights needed to optimize your loadout and deployment, ensuring you don't fall victim to the map's unique wave patterns.
Understanding the Blastech Barrage Landscape
Blastech Barrage features a layout that rewards players who understand lane management. Unlike simpler maps, this environment forces you to think about both single-target damage and area-of-effect (AOE) capabilities simultaneously.
When analyzing the map, consider these environmental factors:
Feature
Impact on Strategy
Priority Level
Lane Chokepoints
Ideal for AOE damage towers
High
Corner Turns
Increases travel time for enemies
Medium
Entrance Spawns
Requires immediate defensive pressure
High
Open Areas
Best for long-range sniper towers
Low
Community reports suggest that many players fail because they focus too heavily on one type of tower. To succeed, you must balance your economy with defensive coverage early on.
Essential Tower Loadouts for Success
Your choice of towers is the most critical decision before the game starts. In Tower Heroes Blastech Barrage, versatility is your best friend. You need a mix of early-game defenders to establish your economy and late-game powerhouses to handle high-health enemies.
Recommended Tower Roles
Economy Boosters: Essential for scaling your defense in the mid-game.
Crowd Control (CC): Slowing units down is vital to keep them inside your kill zones.
High DPS: Necessary for taking down bosses and high-health wave leaders.
Tip
Strategic Placement: Always place your support towers first to boost the efficiency of your primary damage dealers.
Mastering Hard Mode Tactics
Conquering Tower Heroes Blastech Barrage on Hard Mode is a true test of skill. According to experienced players, the key to success is keeping a consistent flow of income while ensuring your defense never drops below the required threshold.
Step-by-Step Execution Plan
Early Game: Focus on placing low-cost, high-efficiency towers to hold the line while upgrading your economy.
Mid Game: Introduce crowd control towers at the map's most restrictive corners.
Late Game: Swap out underperforming early-game units for high-tier damage dealers.
Wave Range
Strategy Focus
Expected Outcome
1-10
Economy Setup
Stable income flow
11-20
Defensive Layering
Controlled enemy pathing
21+
DPS Scaling
Consistent wave clearing
Avoiding Common Pitfalls
Even seasoned veterans can make mistakes on this map. One of the most frequent errors is "over-investing" in a single area of the map, leaving other lanes vulnerable. Always maintain a holistic view of the battlefield.
Another mistake is neglecting the importance of tower upgrades. It is almost always better to have three fully upgraded towers than six basic ones that lack the necessary damage output to stop incoming threats.
For more updates on game mechanics and balance changes, you can check the official Tower Heroes Roblox page. Staying informed about the latest patches is a great way to maintain your edge.
Optimizing Your Performance
To truly master Tower Heroes Blastech Barrage, you should practice in duo modes before attempting solo runs. Working with a partner allows you to specialize your tower choices—one player can focus on economy and support, while the other focuses purely on raw damage output.
Team Coordination Table
Player Role
Primary Responsibility
Best Tower Type
Support/Eco
Generating gold and slowing
Farms & CC
Damage Dealer
Eliminating threats
Snipers & AOE
Community feedback highlights that communication is the biggest factor in duo play. Ensure you and your partner are in sync regarding when to upgrade and when to save for the next wave.
Frequently Asked Questions (FAQ)
Q: What is the best strategy for Tower Heroes Blastech Barrage?
A: The best strategy involves balancing early-game economy towers with strong AOE crowd control to manage enemy density effectively.
Q: Can I complete this map solo?
A: Yes, it is possible to complete it solo, though it requires a very specific loadout and precise timing on your tower upgrades to handle the later waves.
Q: Why do I keep losing on the later waves?
A: Most players lose in the late game because their DPS is not high enough to counter the increased health pools of the enemies. Ensure your high-tier towers are fully upgraded before the final waves.
Q: Are there specific towers that are "must-haves"?
A: While there is no single "correct" loadout, towers that provide reliable slowing effects and high-damage output are generally considered essential for this map.